How to Update Java Manually
When you install Java on your machine – it will normally install a small program at startup that checks for updates – that program can get disabled – or not do its job – or you might just wish to check for updates manually for peace of mind.
Here is how to check for Java updates…
1. Open the URL https://www.java.com/ in a new browser tab or window (clicking the link here will do that).
2. Underneath the big “Free Java Download” button – click the link that says “Do I have Java?” – we have highlighted this in blue for you in the image below:
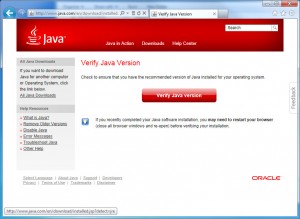
3. Next – click the big red button that is labeled – “Verify Java Version”:
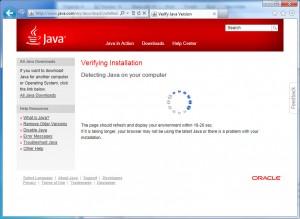
4. Now – wait while Java installation is verified
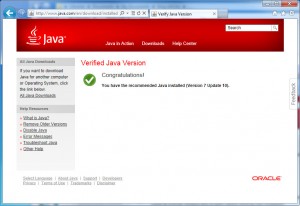
5. You should see one of 3 messages – either you have no Java/Java is disabled – or – your version of Java is out of date with a link to the update – or – as in this case – that your Java version has been verified, and you have the latest Java installed:
If you need to update java – just follow the prompts – after downloading the installer, you will need to close out all your browsers so that the Java browser plugin can be updated. However – if you are told that you have an up to date java installation – and that you have Java 7 Update 10 – please read *this blog post on Java Vulnerability* – because at time of posting, J7U10 has a zero-day exploit – which leaves you vulnerable to malware still.
Alternative Method of Updating Java
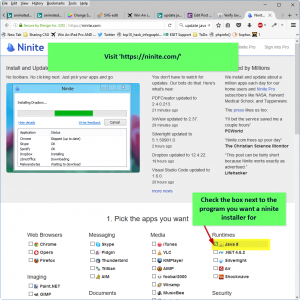
We are a big fan of the website ‘Ninite.com’ – this site is built by a company called ‘Security By Design’ – they provide a way of downloading tiny installer/updaters for a long list of programs. Java in on their list of programs you can get an installer/updater for.
Benefits of using ninite installer/updaters:
- start working as soon as you run it
- not bother you with any choices or options
- install apps in their default location
- say no to toolbars or extra junk
- install 64-bit apps on 64-bit machines
- install apps in your PC’s language or one you choose
- do all its work in the background
- install the latest stable version of an app
- skip up-to-date apps
- skip any reboot requests from installers
- use your proxy settings from Internet Explorer
- download apps from each publisher’s official site
- verify digital signatures or hashes before running anything
- work best if you turn off any web filters or firewalls
- save you a lot of time!
How to use ninite.com to install/update Java:
Once you have downloaded and saved the ninite.com installer/updater to your computer, we recommend moving it to a safe place, such as your desktop, or – c:\ninite – and then make a shortcut on your desktop – believe us, you’ll use your ninite updaters often when you can find them quickly and easily… put a shortcut on your desktop!!


